Webflow
Add or embed 3D, Augmented Reality (AR), and Virtual Reality (VR) content/design to your Webflow website.
Introduction
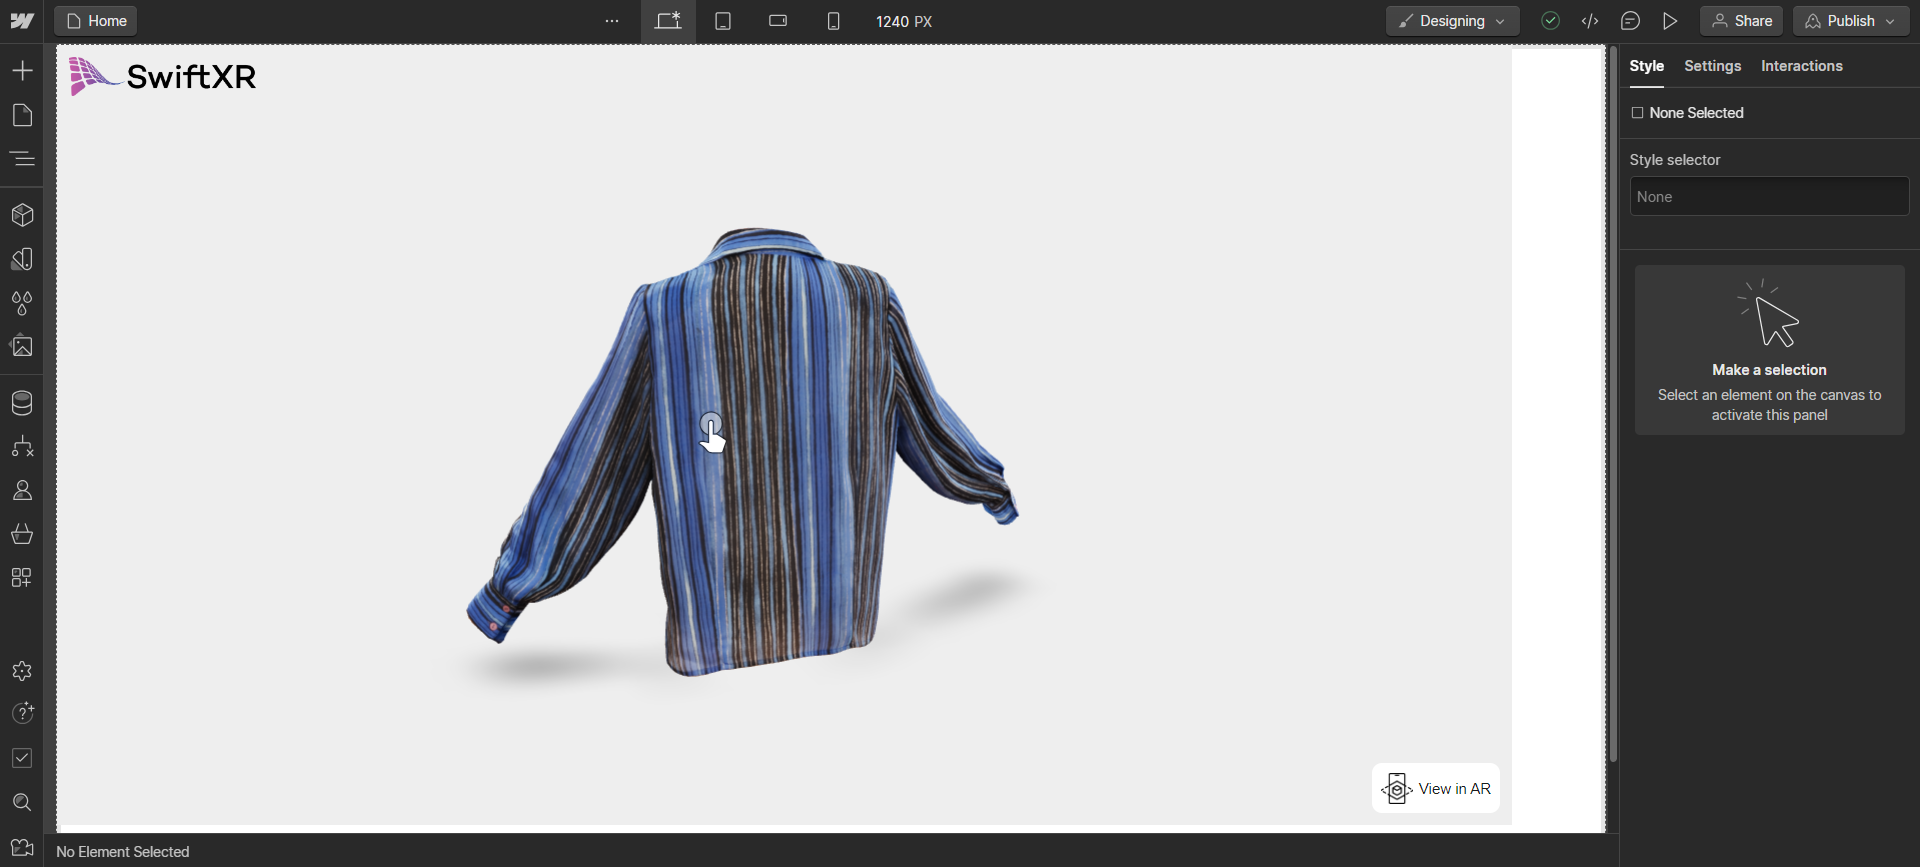
SwiftXR is a robust platform designed for building and sharing engaging 3D, augmented reality (AR), and virtual reality (VR) encounters on the internet without writing a single line of code. Using the SwiftXR (3D/AR/VR) Integration for Webflow, you can seamlessly incorporate SwiftXR Projects into your Webflow prototypes/websites, allowing the smooth creation of immersive and interactive web experiences.
Create a Project in SwiftXR
Navigate to the SwiftXR Hub: Begin by visiting the SwiftXR Hub.
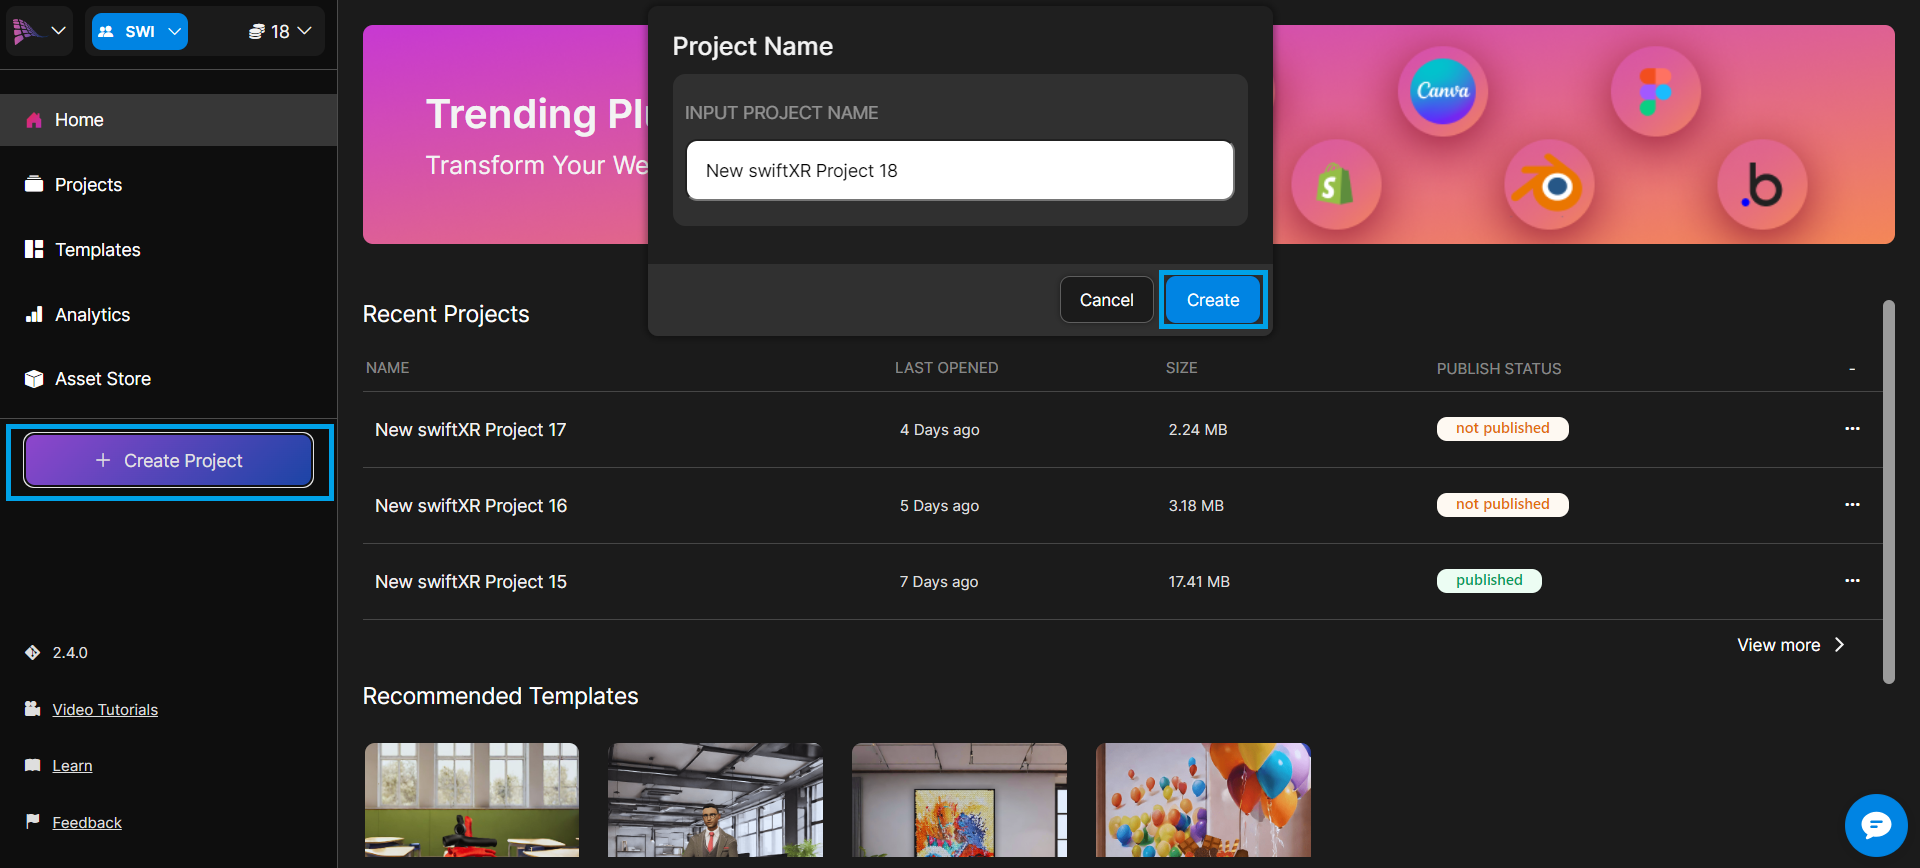
Initiate Project Creation: Once on Hub, click the "Create Project" button and enter your desired project name.
Design and Develop: Utilize the intuitive editor to effortlessly add and customize SwiftXR components, bringing your 3D vision to life.
Import your 3D asset
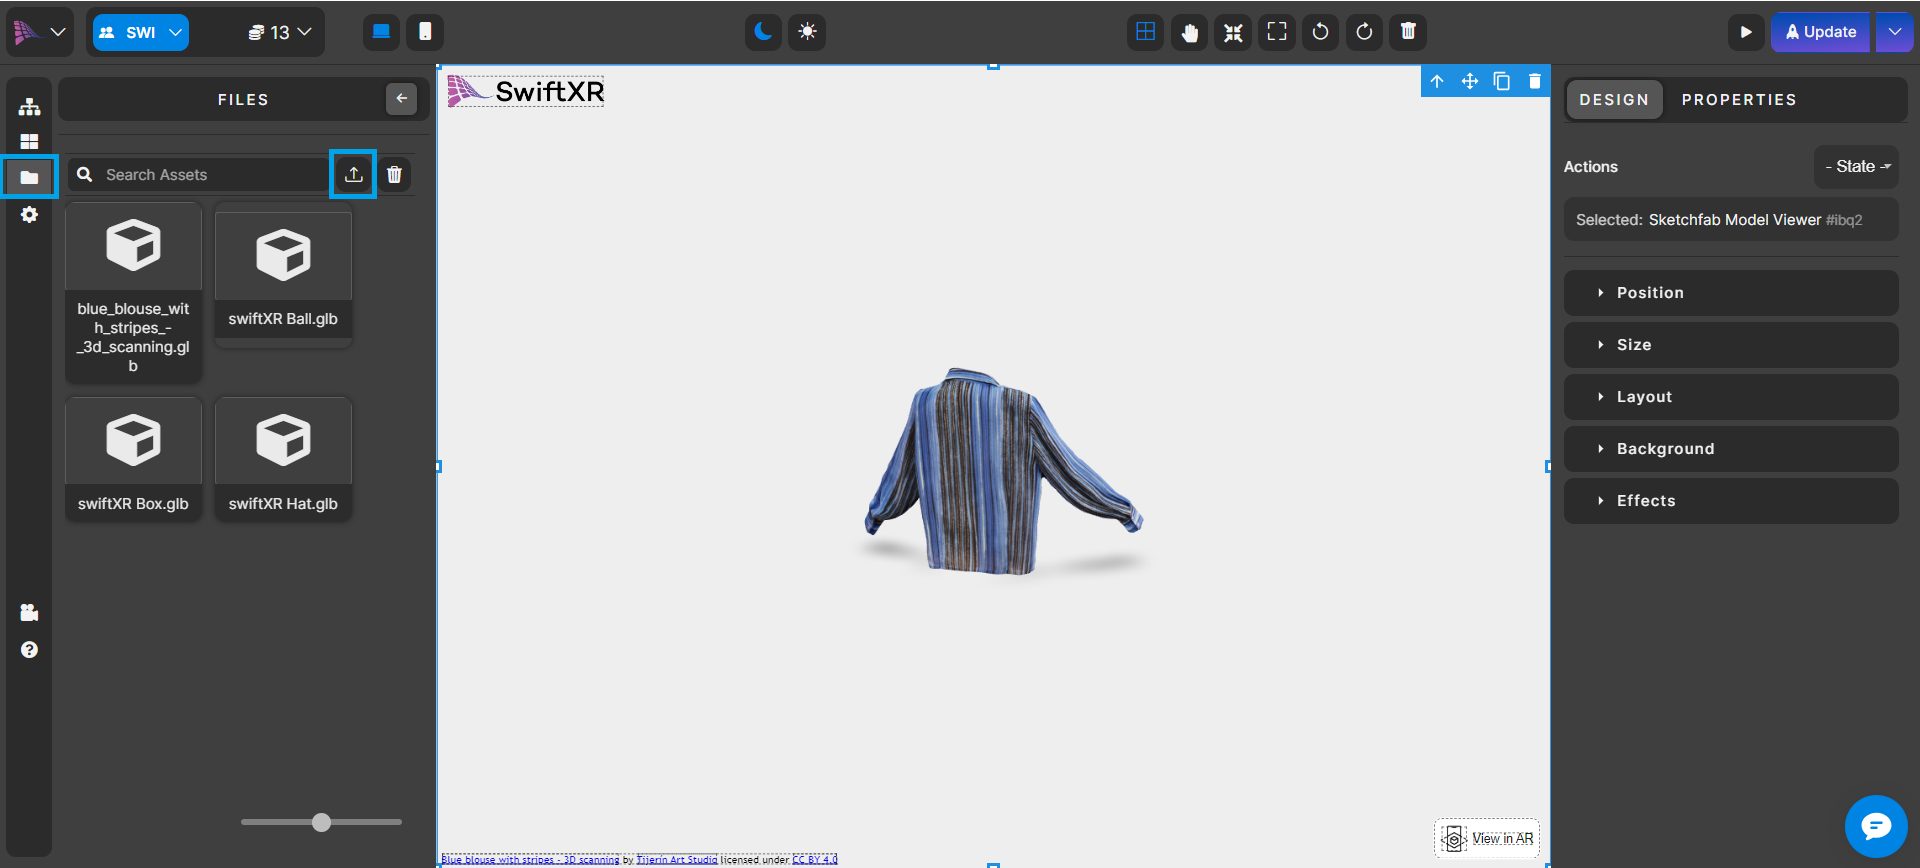
Navigate to the side menu bar, click on the "Files" button and click on the "Import Files" button to import your 3D model.
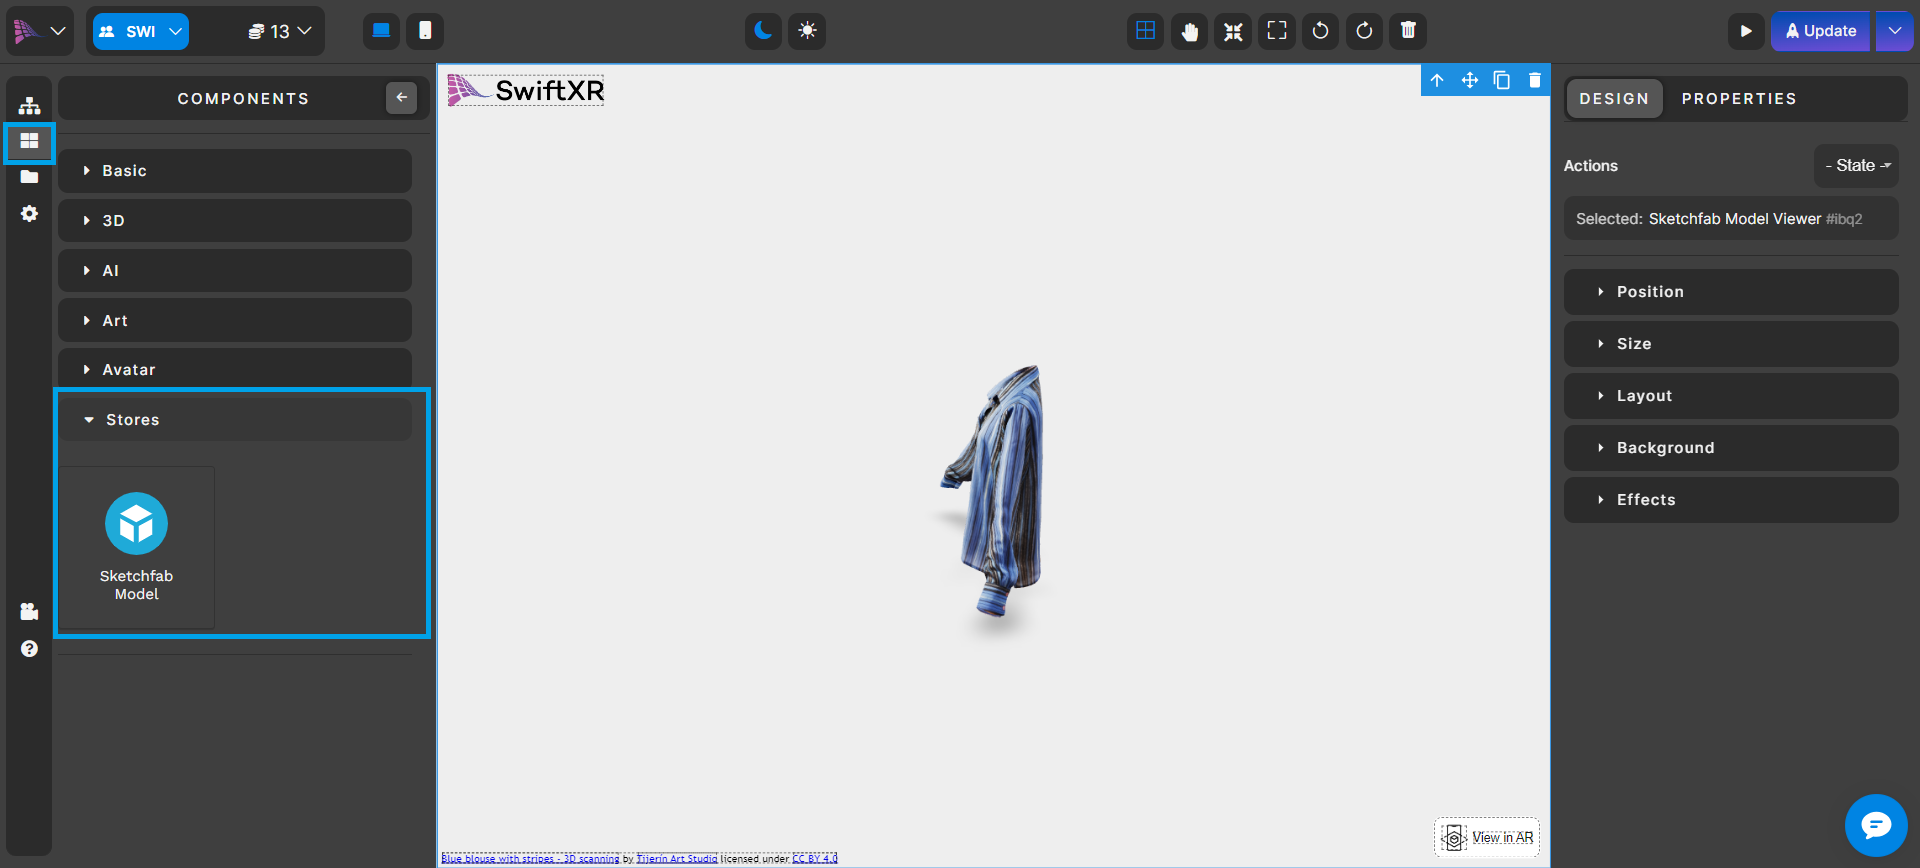
Alternatively, you can navigate to the side menu bar, click on the "Components" button and click on the "Stores" button to import your 3D model from our 3D marketplace.
Publish Your SwiftXR Project
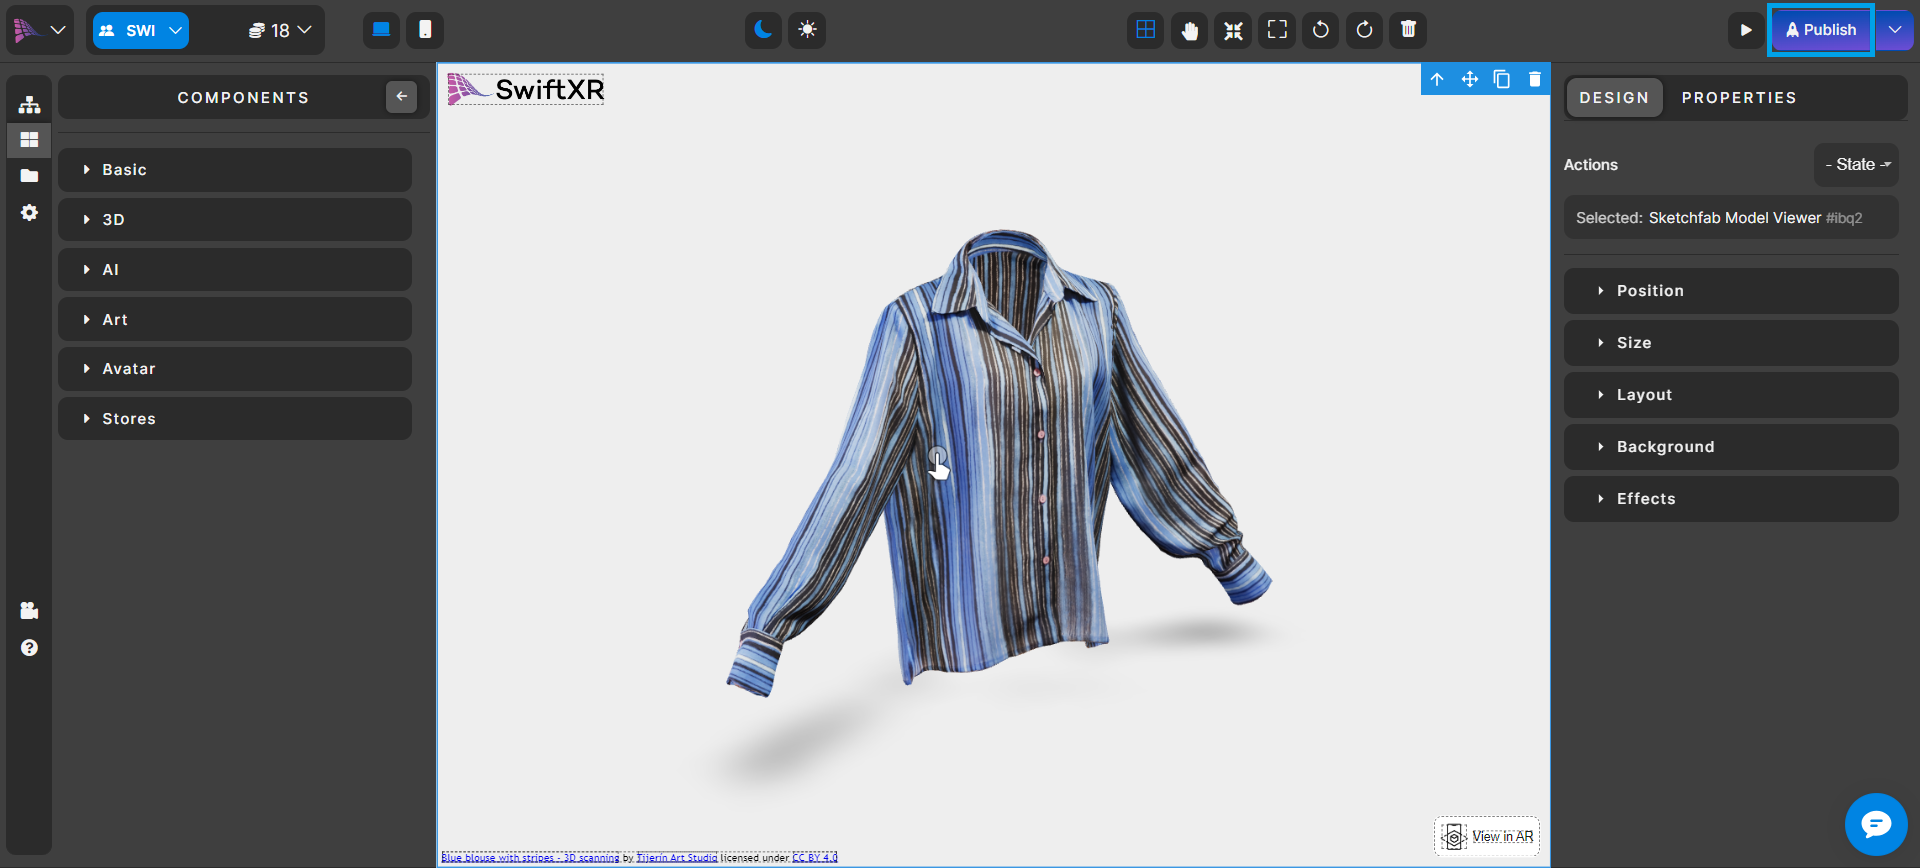
Utilize the editor to create your 3D vision using the SwiftXR components. Once satisfied with yur creation, press the "Publish" or "Update" button to make your project live.
Copy Embed Code
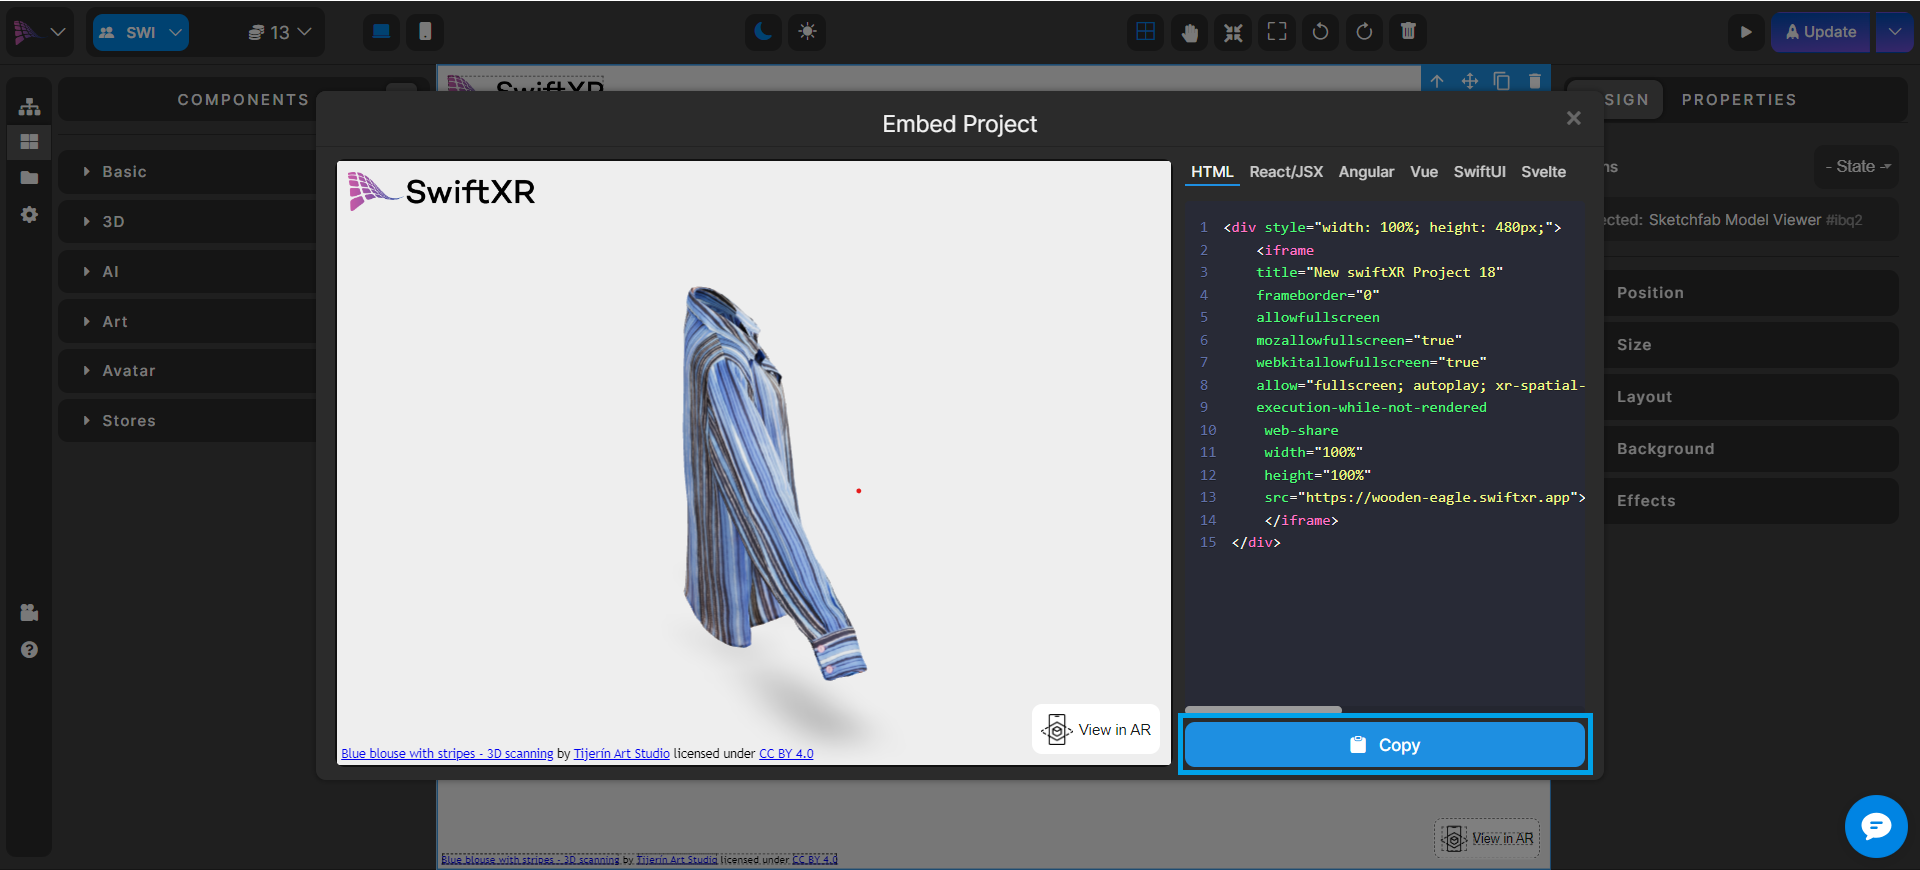
After publishing, click the dropdown button beside the "Update" button and select "Share." Within the Share modal, click the "Copy Embed" button to copy the embed code for your project.
Integrate SwiftXR into Webflow Websites
Go to Webflow Dashboard: Open your website where you want to integrate your 3D/AR/VR project.
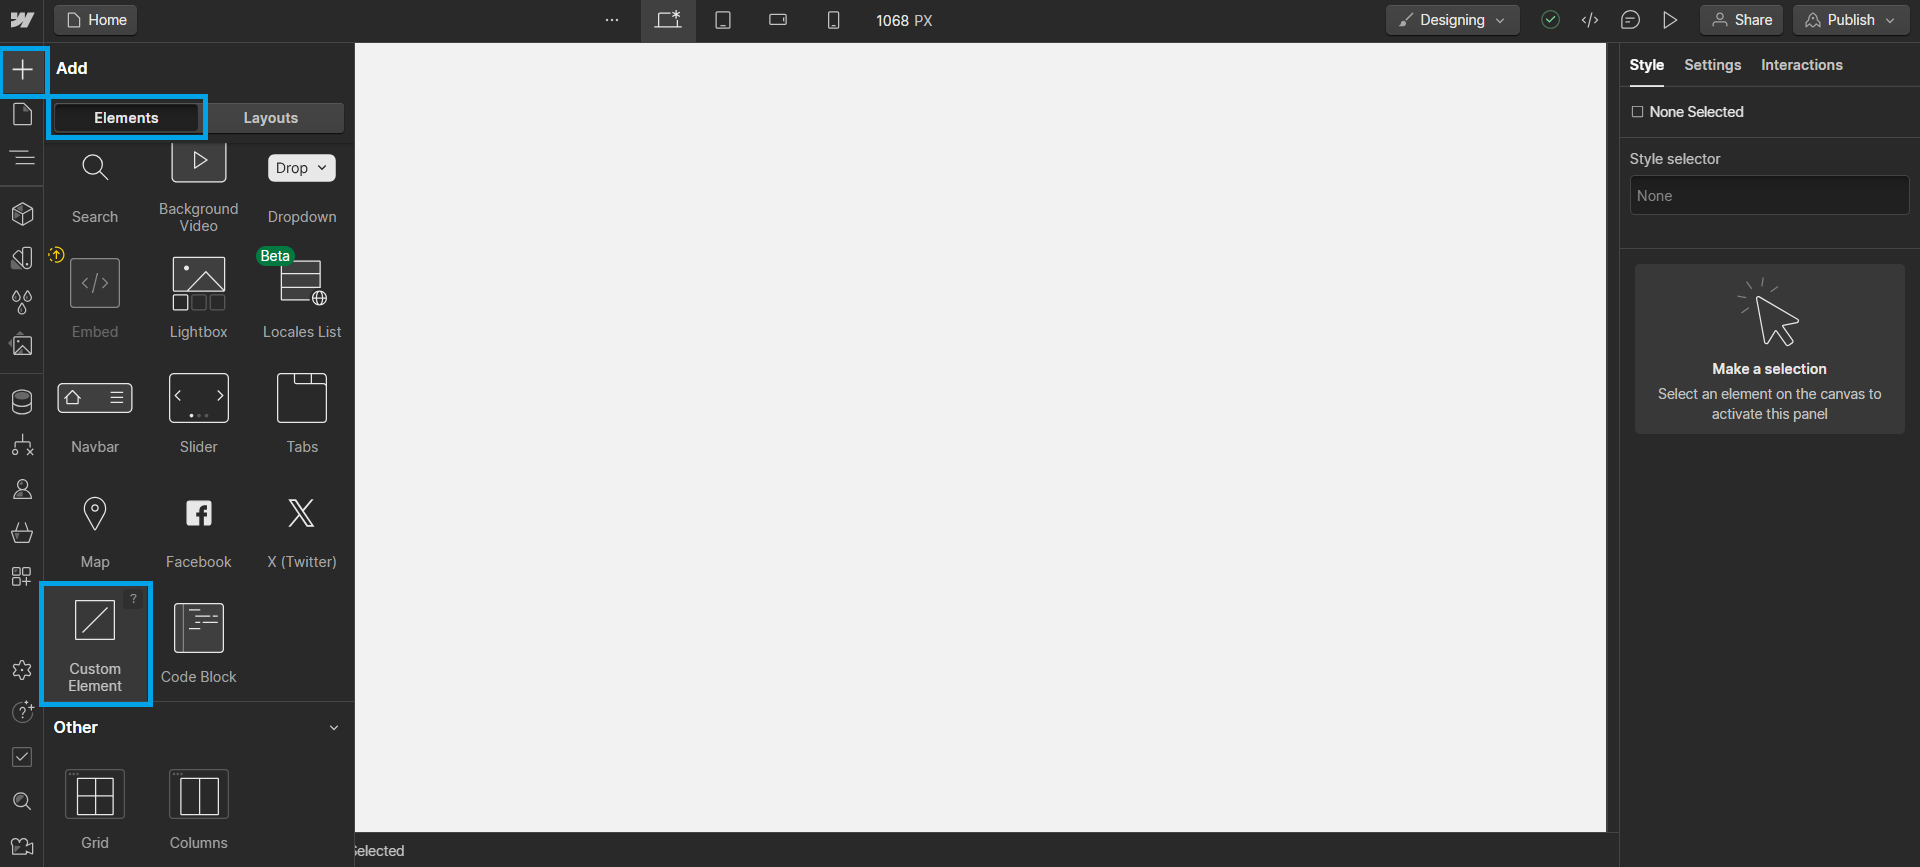
Add Embed Component: Locate and add the embed component from Webflow's Elements library.
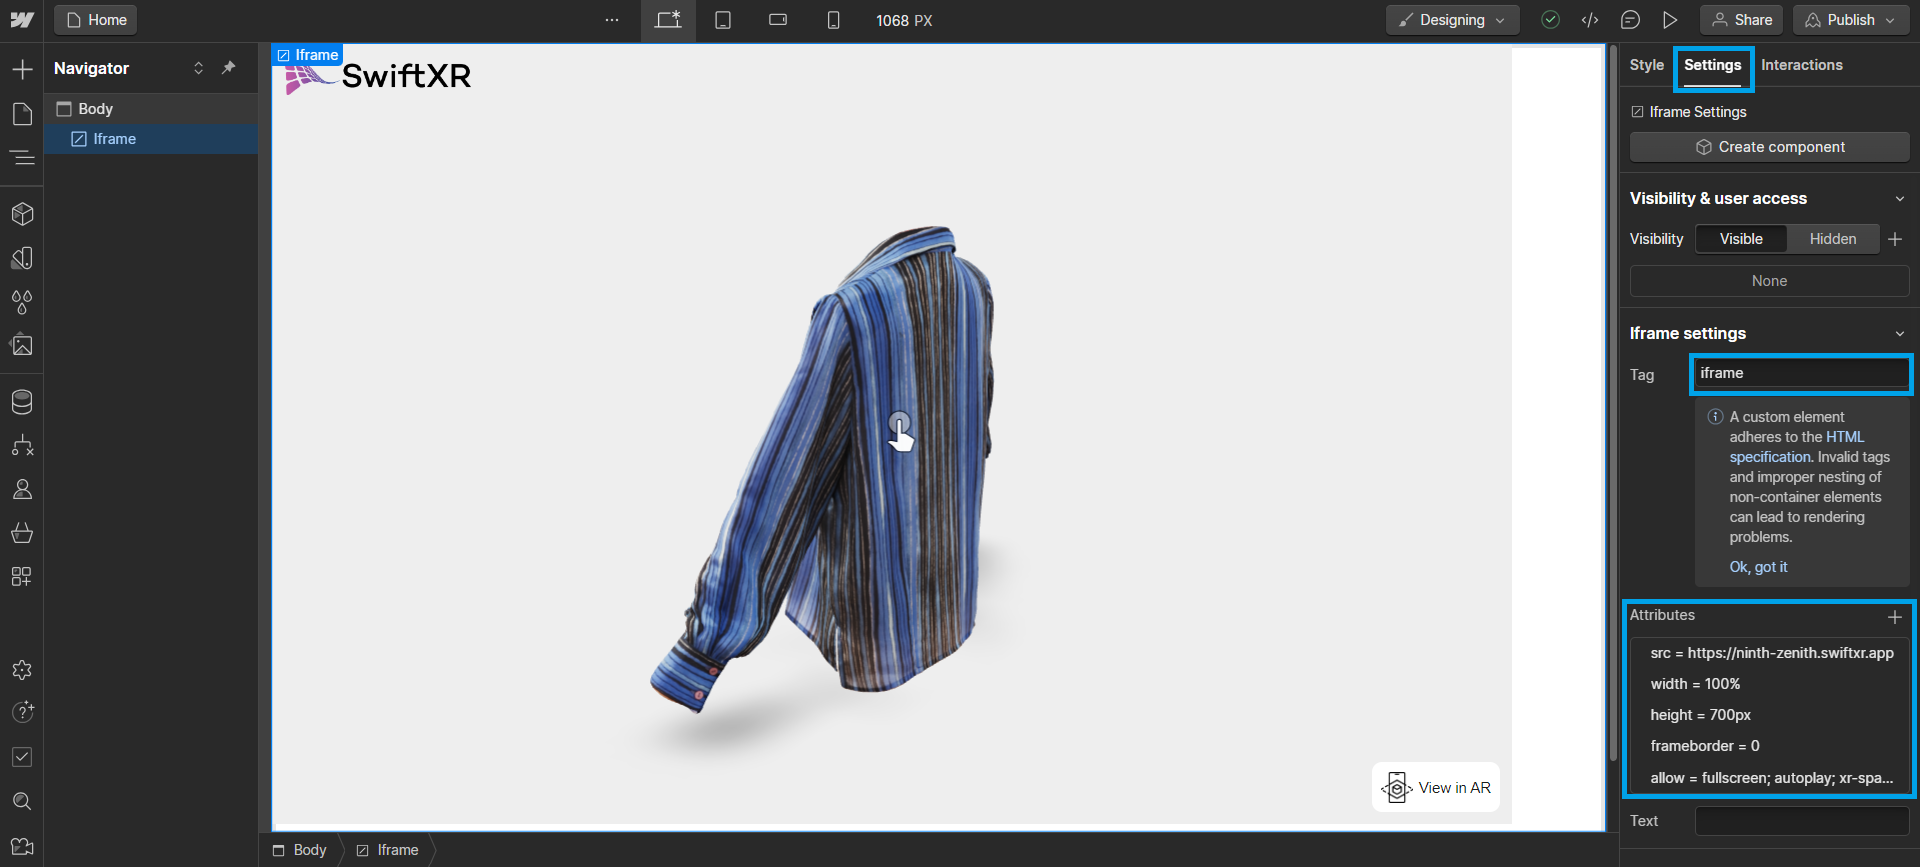
Paste Embed Code: First, click on the "Settings" button to change the tag from "div" to "iframe". Then integrate your SwiftXR project by pasting the copied embed code into the "Attributes" field within Webflow.
NOTE: Add each attrribute by clicking the plus button, enter the left hand side of the embed code lines in the name field and the right hand side of the embed code lines in the value field.
For example:
In the above code snippet:
The left-hand side of each line represents the attribute name before the '=' sign.
The right-hand side of each line represents the attribute value after the '=' sign.
Viewing your Scene in the Web, AR or VR
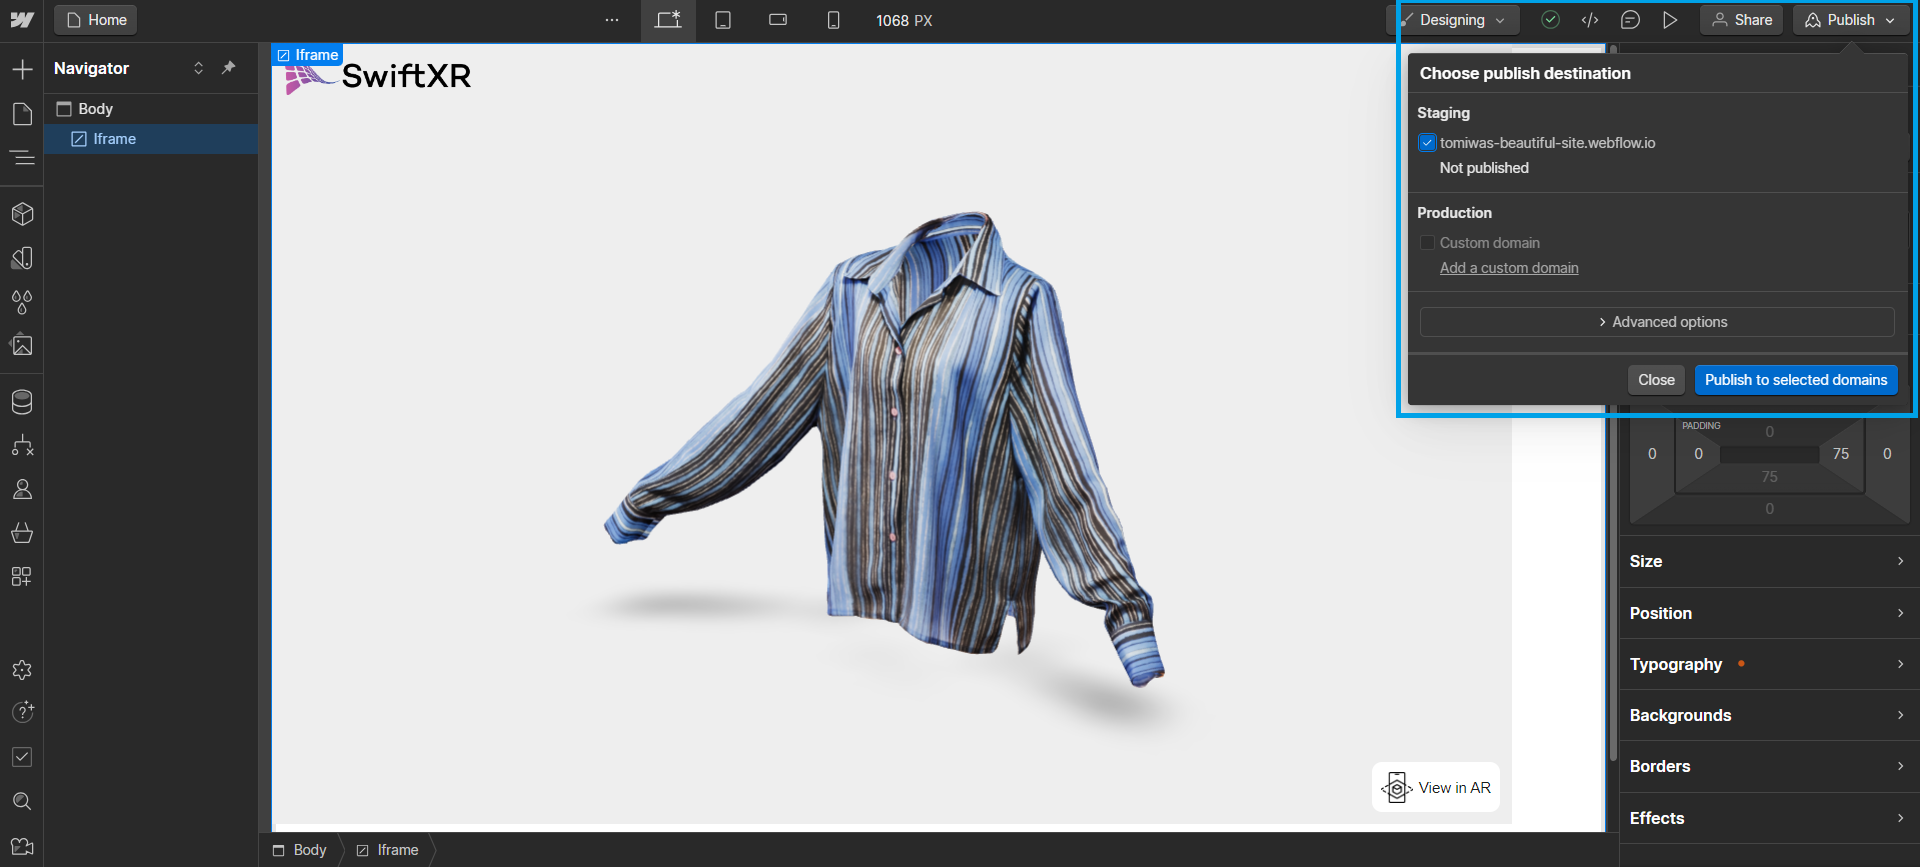
Save and publish the Webflow website and view the link on any device to explore it immersively.
Conclusion
Integrate SwiftXR with Webflow to effortlessly integrate 3D elements into your web prototypes, delivering heightened engagement and interactivity for your users. Uncover the potential of leveraging SwiftXR to elevate your Webflow prototypes, transforming your concepts into immersive and interactive realities.
Last updated