> For the complete documentation index, see [llms.txt](https://guide.swiftxr.io/llms.txt). Markdown versions of documentation pages are available by appending `.md` to page URLs; this page is available as [Markdown](https://guide.swiftxr.io/plugins/woocommerce.md).
# WooCommerce
### (One time) Add the SwiftXR Plugin using Wordpress Hosting
To add the 3D/AR/VR view to your product page:
1. Go to Wordpress Website Editor and click on plugin
2. Click on add new plugin and search for SwiftXr
3. Click on "Install now" to install plugin
4. After installing, Click on the Plugin from your menu.
Important: SwiftXR does not change the look of your website. You can add the SwiftXR Viewer to different parts of your page by opening the widget settings and turning on the optional link feature.
Once you have added the plugin you can now embed your 3D project by following the steps below.
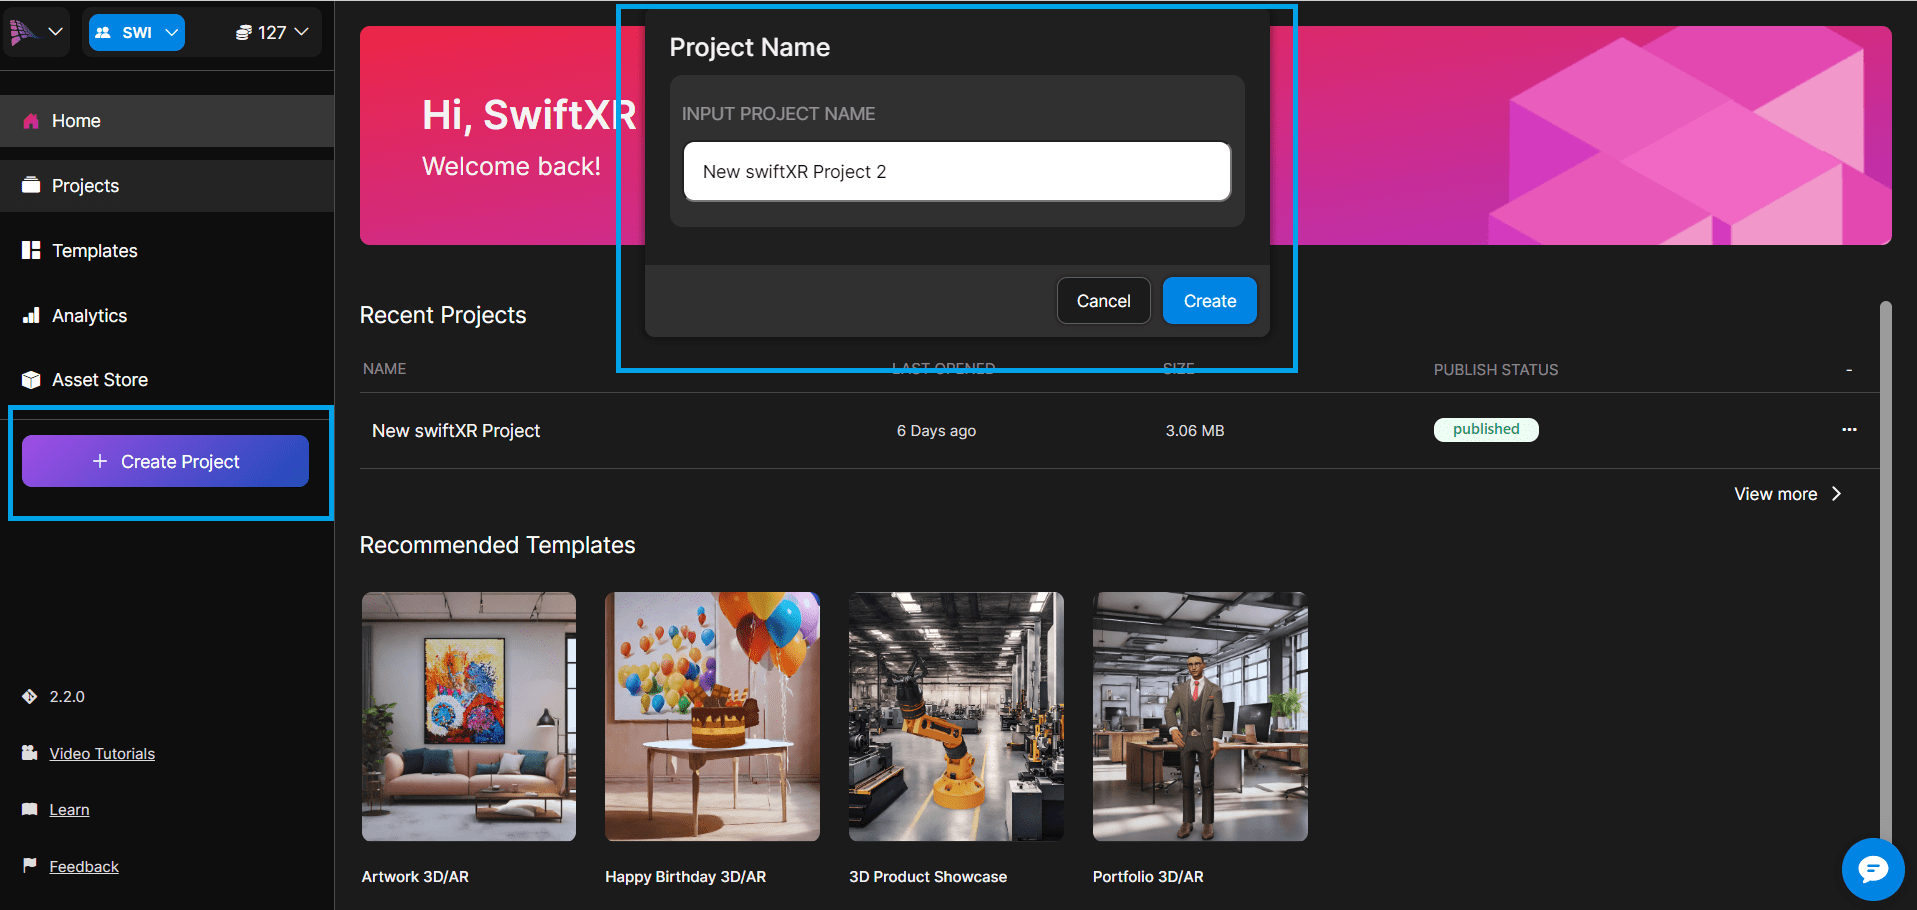
### Step 1 - Go to the SwiftXR Hub and Create a Project
To create a SwiftXR project and publish your 3D Model, visit the SwiftXR Hub. SwiftXR accepts multiple file formats such as fbx, obj, stl, gltf, and images.
(Optional) You can also use templates for quick starts
### Step 2 - Add a 3D Component and Upload your 3D Model
From the component tab, click or drag and drop a 3D viewer component to add it to the white canvas. Select the "Properties" tab to upload a 3D model, import from a 3D store or Request a 3D model from .
(Optional) To make sure that only your 3D model is visible, make sure to remove any other components on the SwiftXR Canvas.
### Step 3 - Publish/Update your Project
To publish or update your project, click the "Publish" button or "Update" if it is an existing project which is located at the top right corner of the SwiftXR Editor".
(Optional) You can customise the project URL before you publish.
### Step 4 - Copy the Published Project URL
After publishing your project, copy the published project URL'
Important: Make sure that your project URL has the "swiftxr.app" domain, otherwise our servers will mark it as invalid. You can also view and share the project using the published project URL
### Step 5 - Link SwiftXR Published Project to WooCommerce Store
***
1. To add published project to your Store, Click on the plugin from your WordPress Menu
2. Click on "Add New Entry"
3. Enter the published url from SwiftXR.
4. Switch to E-Commerce Mode.
5. Choose the product you want to link the 3D object to.
6. Click on "Add"
7. On add the product preview will be generated.
### Congratulations! You have successfully added 3D/AR/VR to your product. Enjoy and keep exploring your products in a whole new way!
Note: Keep adding your 3D models to your store to make it more interactive.
Tip: Adding 3D/AR/VR content across your WordPress can help increase customer browsing time and number of items viewed.
---
# Agent Instructions
This documentation is published with GitBook. GitBook is the documentation platform designed so that both humans and AI agents can read, navigate, and reason over technical content effectively. Learn more at gitbook.com.
## Querying This Documentation
If you need additional information that is not directly available in this page, you can query the documentation dynamically by asking a question.
Perform an HTTP GET request on the current page URL with the `ask` query parameter:
```
GET https://guide.swiftxr.io/plugins/woocommerce.md?ask=
```
The question should be specific, self-contained, and written in natural language.
The response will contain a direct answer to the question and relevant excerpts and sources from the documentation.
Use this mechanism when the answer is not explicitly present in the current page, you need clarification or additional context, or you want to retrieve related documentation sections.