> For the complete documentation index, see [llms.txt](https://guide.swiftxr.io/llms.txt). Markdown versions of documentation pages are available by appending `.md` to page URLs; this page is available as [Markdown](https://guide.swiftxr.io/integrations/swift.md).
# Swift
Add or embed 3D, Augmented Reality (AR), and Virtual Reality (VR) content/design to your Swift application.
### Introduction
SwiftXR is a powerful platform for creating and sharing interactive 3D, augmented reality (AR), and virtual reality (VR) experiences on the web. With the SwiftXR (3D/AR/VR) Integration for Swift UI, you can easily integrate SwiftXR Projects into your Swift UI websites/webapps, enabling you to create immersive and interactive web experiences.
### Creating a Project in SwiftXR
* Navigate to the SwiftXR Hub: Begin by visiting the [SwiftXR Hub](https://swiftxr.io/hub).
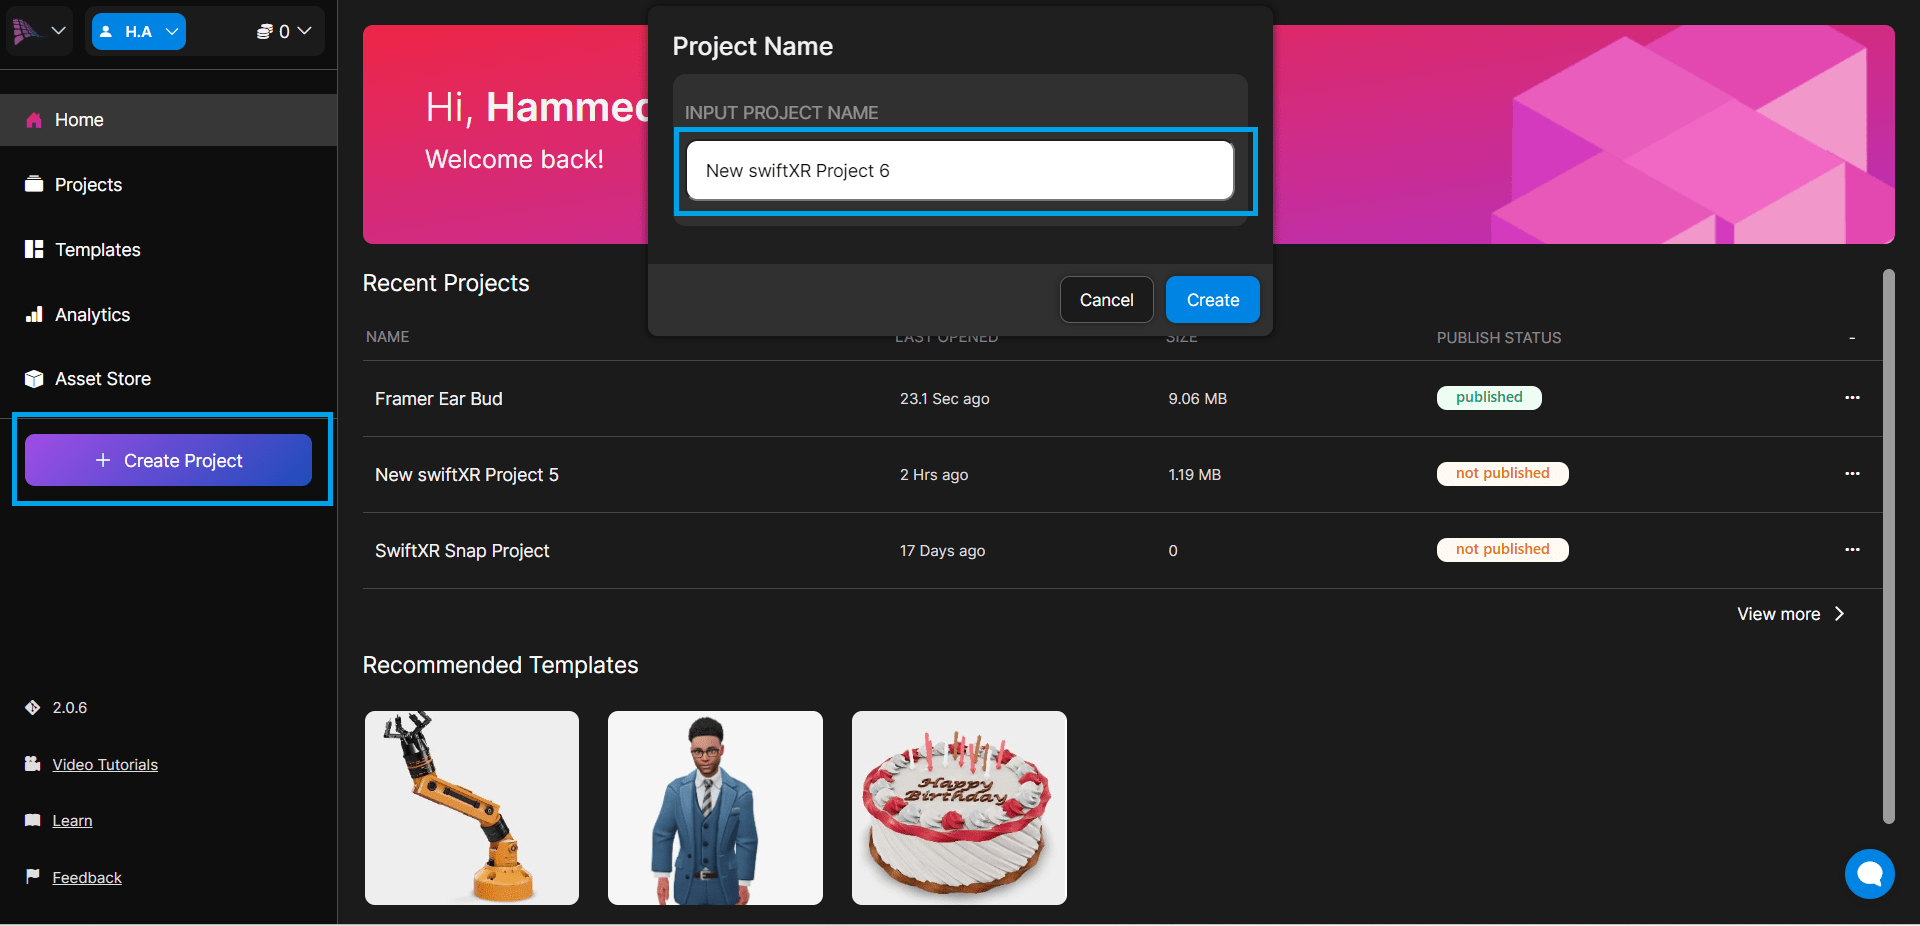
* Initiate Project Creation: Once on Hub, click the "Create Project" button and enter your desired project name.
* Design and Develop: Utilize the intuitive editor to effortlessly add and customize SwiftXR components, bringing your 3D vision to life.
### Add a Component/Upload a 3D Model to the Canvas
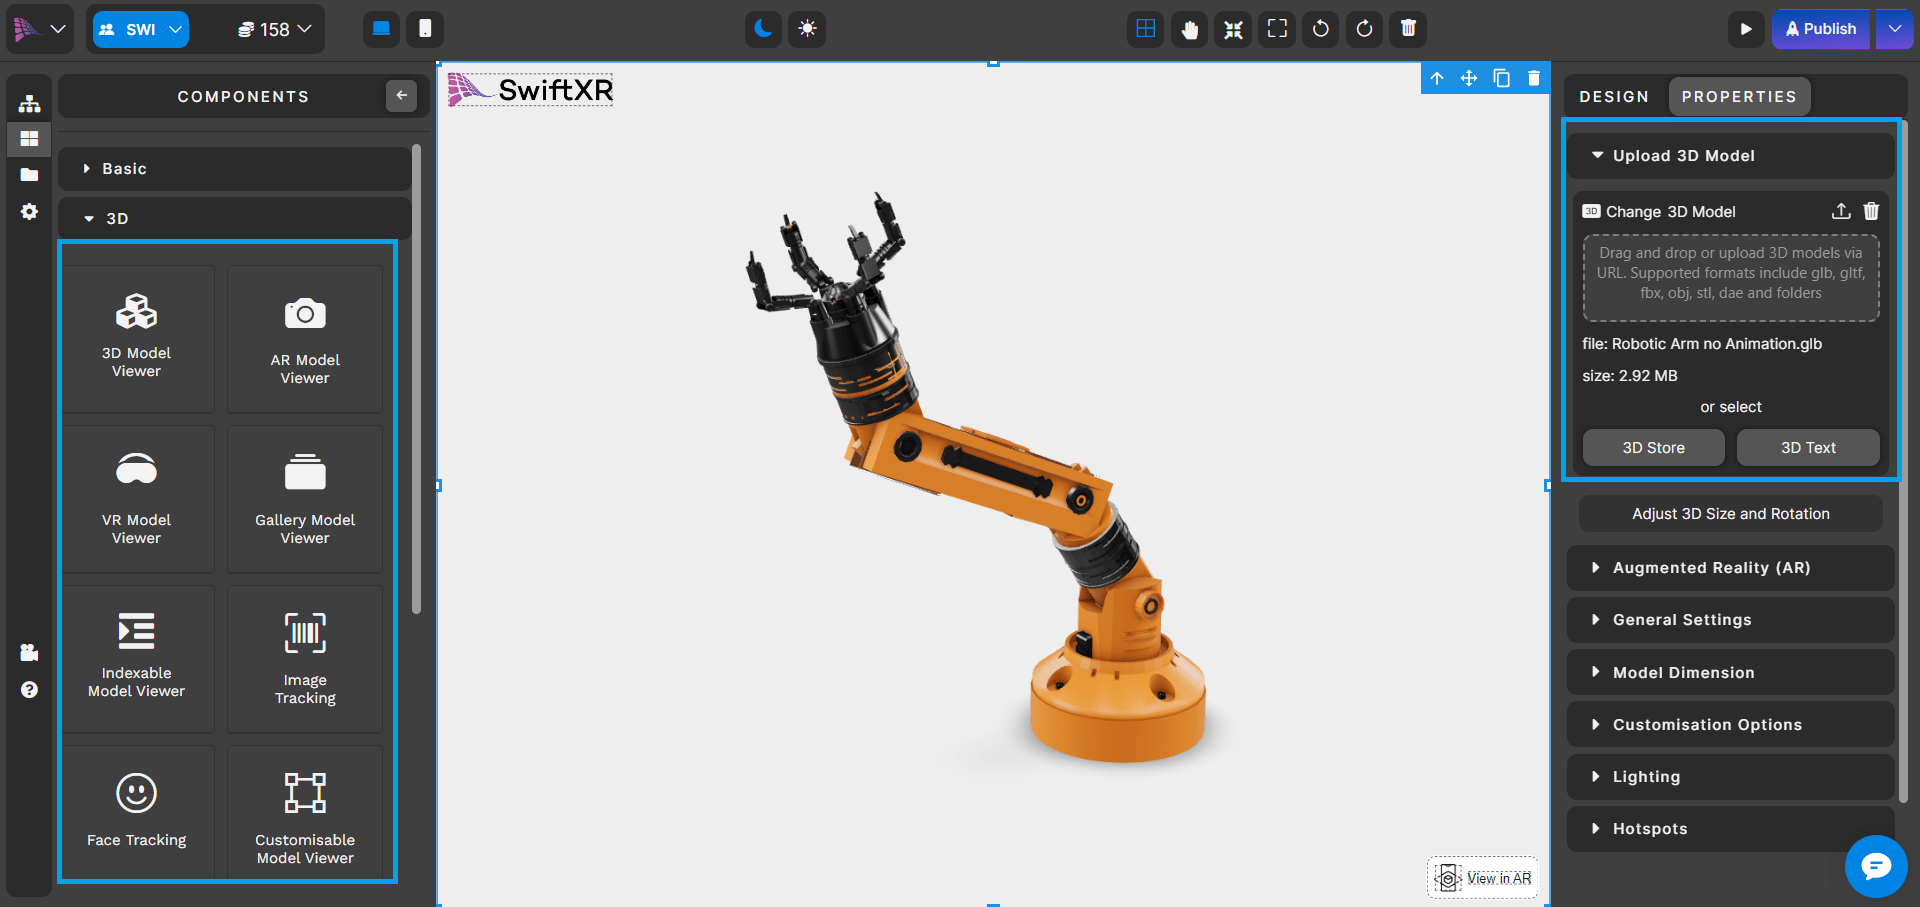
* From the component tab, click or drag and drop a 3D viewer component to add it to the white canvas.
* Select the "Properties" tab to upload a 3D model, import from a 3D store or Request a 3D model from .
### Publishing Your SwiftXR Project
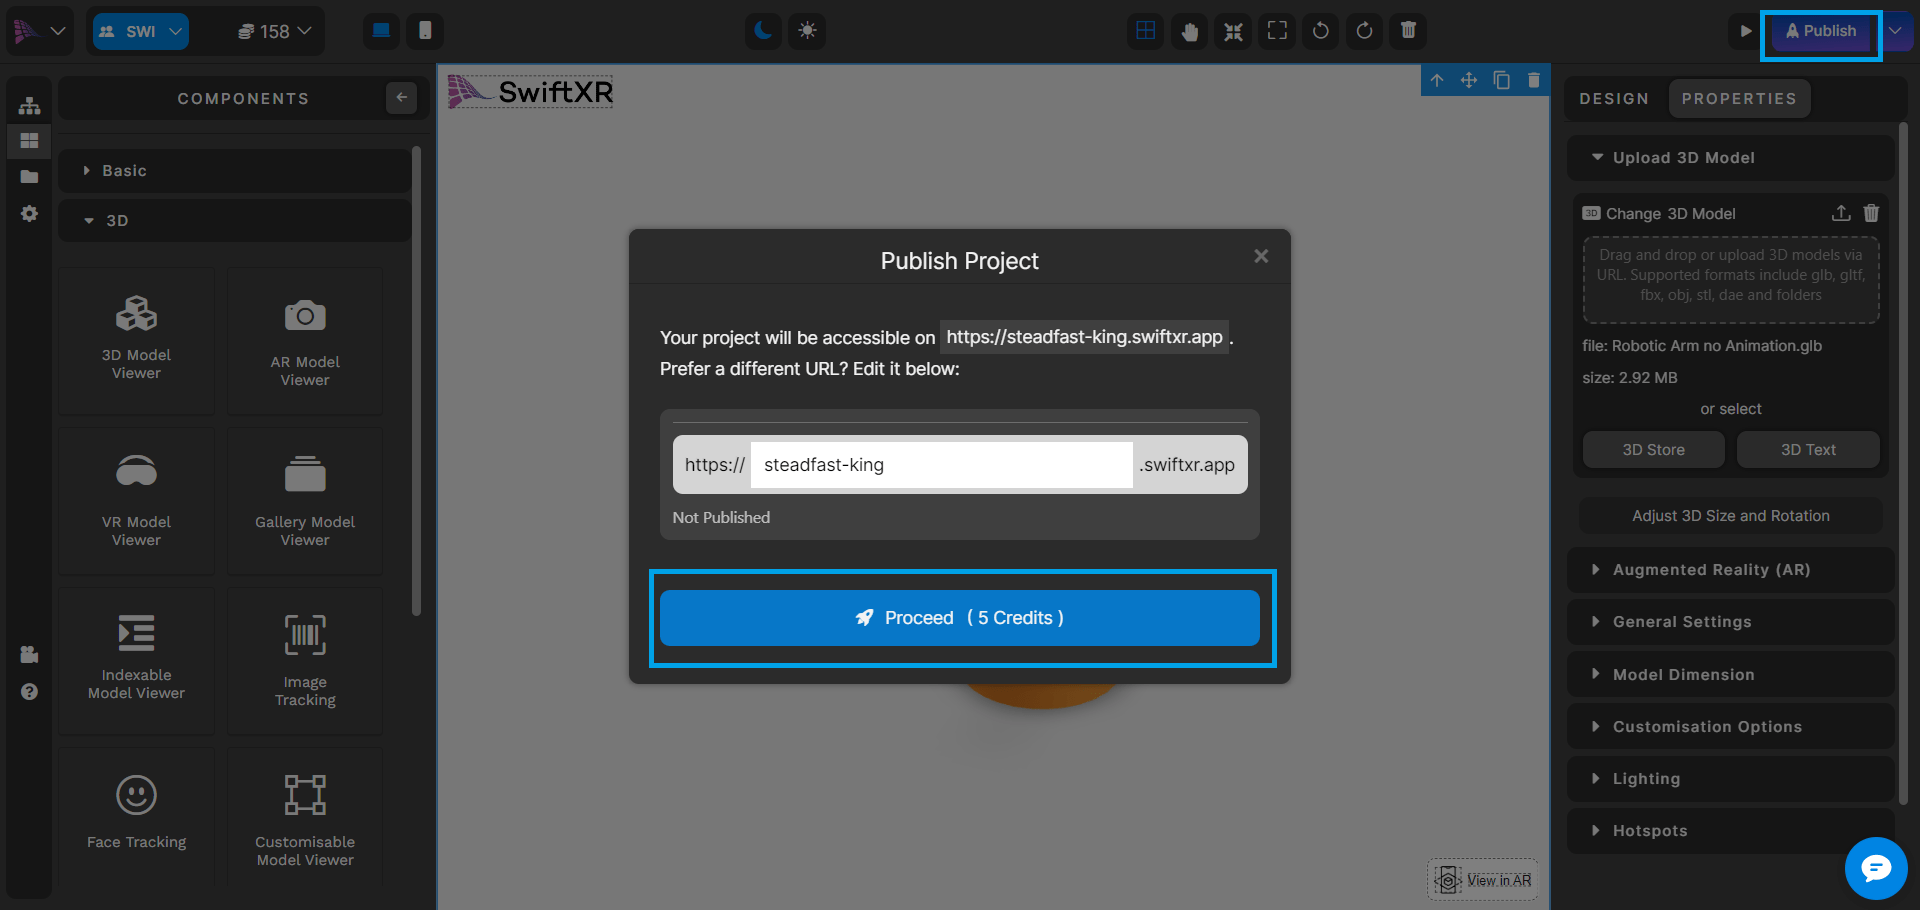
Utilize the editor to create your 3D vision using the SwiftXR components. Once satisfied with your creation, press the "Publish" or "Update" button to make your project live.
### Copy Embed Code
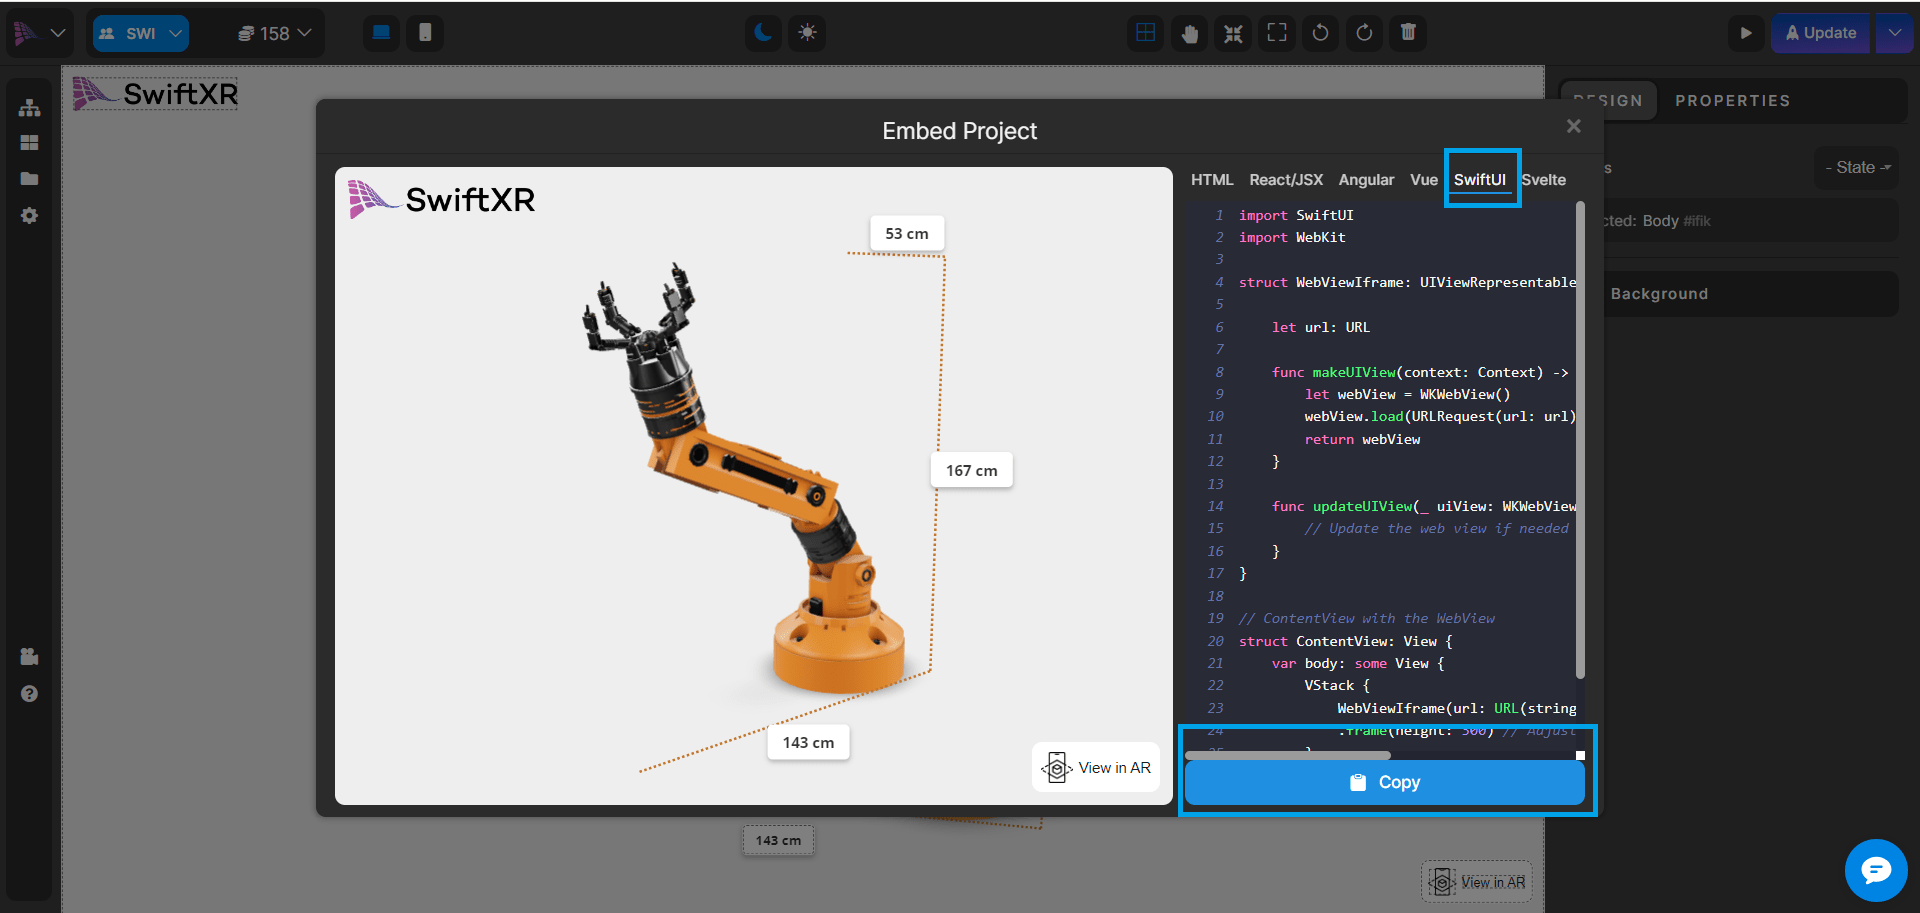
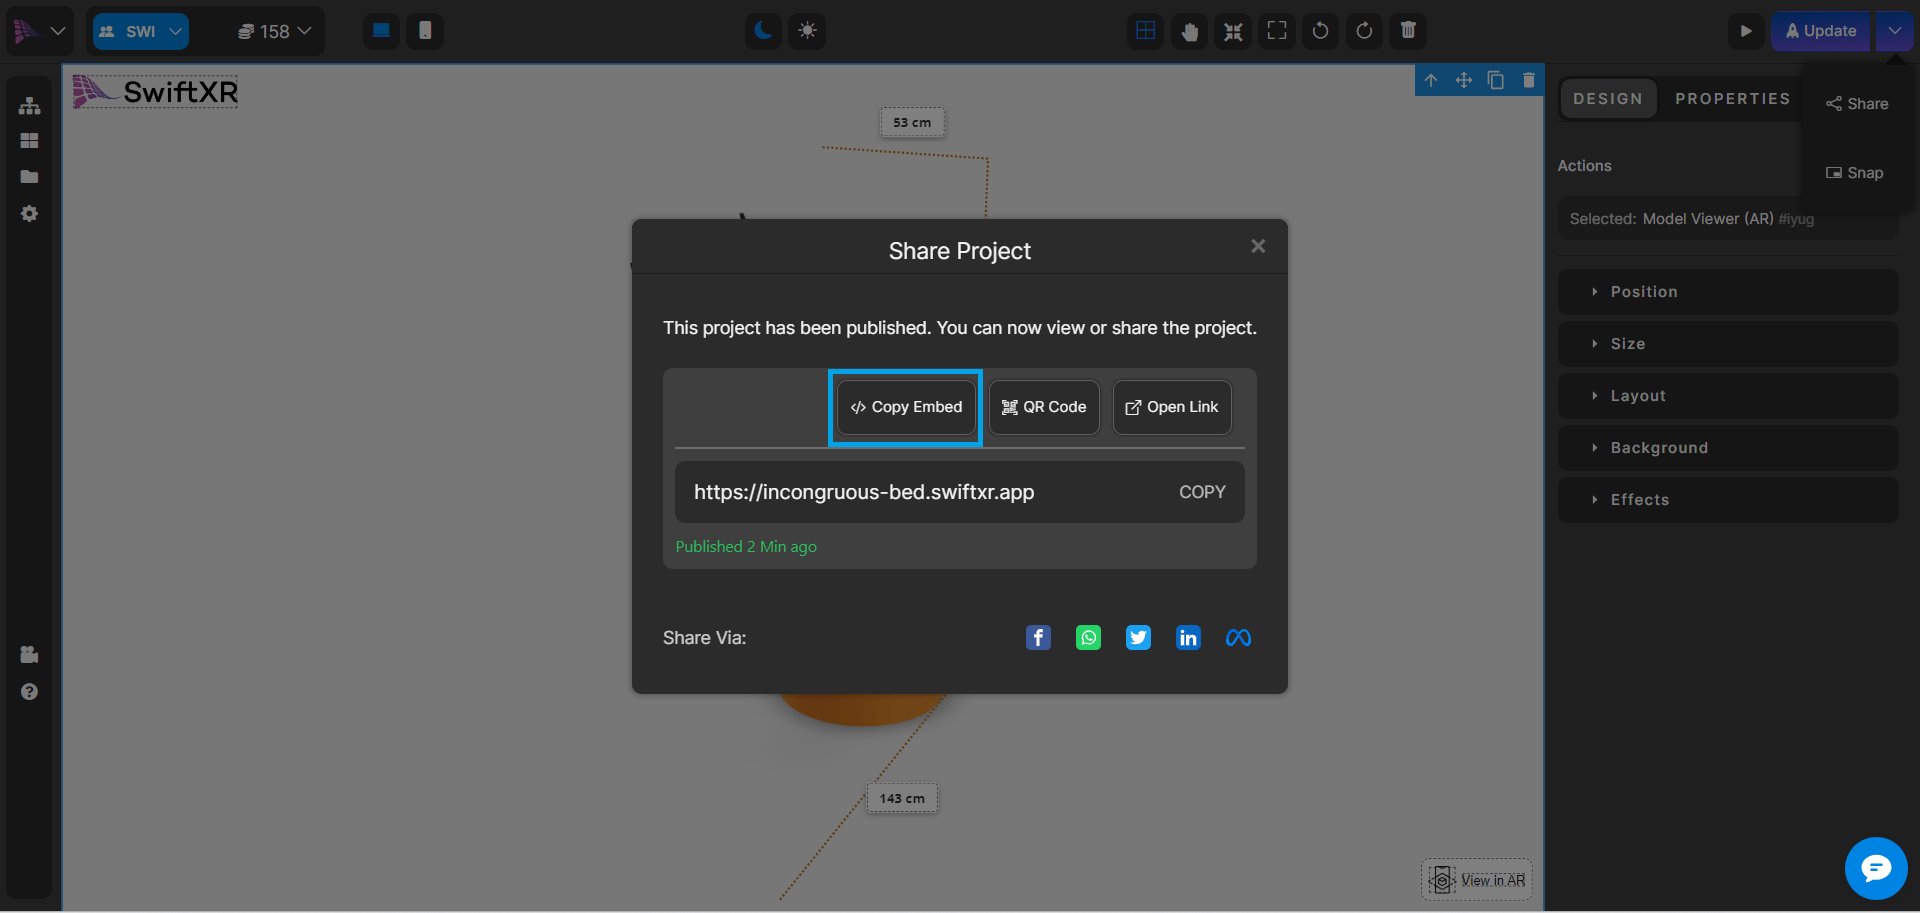
After publishing, click the dropdown button beside the "Update" button and select "Share." Within the Share modal, click the "Copy Embed" button to copy the embed code for your project.
### Integrating SwiftXR into Swift UI Websites
* Simply paste the copied Swift UI embed code into the desired section of your website's Swift UI source code to seamlessly integrate and showcase the 3D/AR/VR view on your site
### Viewing your Scene in the Web, AR or VR
Save and deploy the Swift UI website and view the link on any device to explore it immersively.
### Conclusion
By integrating SwiftXR with Swift UI, you can seamlessly blend 3D elements into your web prototypes, creating more engaging and interactive experiences for your users. Explore the possibilities of using SwiftXR to enhance your Swift UI prototypes and bring your ideas to life in an immersive and interactive way.